
Tutorial: How to Design a Logo
A well-designed logo is an important part of your brand identity. Whether you’re hiring someone to design a logo for you or are a designer yourself, it’s a good idea to understand everything that goes into the process so you can know what to expect.
Step 1: Gather Information
For any logo project, the most critical step is to learn as much as possible about the business or individual that the logo will be representing. This is so that you can create a logo that not only communicates the mission of the business in a visual format, but also aligns with the client’s personal aesthetics.
Here are some example questions you can ask that will better inform the creative process.
What does your business do?
Do you have any particular aesthetic you are aiming for?
Are there any logos you love?
Do you already have a website/colors/existing branding?
How will this logo be used? (e.g. embroidery, video watermark, social media, multiple formats)
Are there any logos, styles, or fonts that you absolutely hate and want to stay away from?
Which logo format(s) do you need? (e.g. image with text, image only, “bug” or small graphic, text only?)
Step 2: Create an Inspiration Mood Board
Once all of the critical details are gathered, you’ll want to put together an inspiration mood board. A mood board is a collection of images, text, or other visuals that can be used to convey a general “look and feel” of a concept. Pinterest is a great tool for putting together mood boards, but you can also simply create a folder on your computer or cloud drive to collect any images, fonts, and existing logos you’ll want to derive inspiration from.
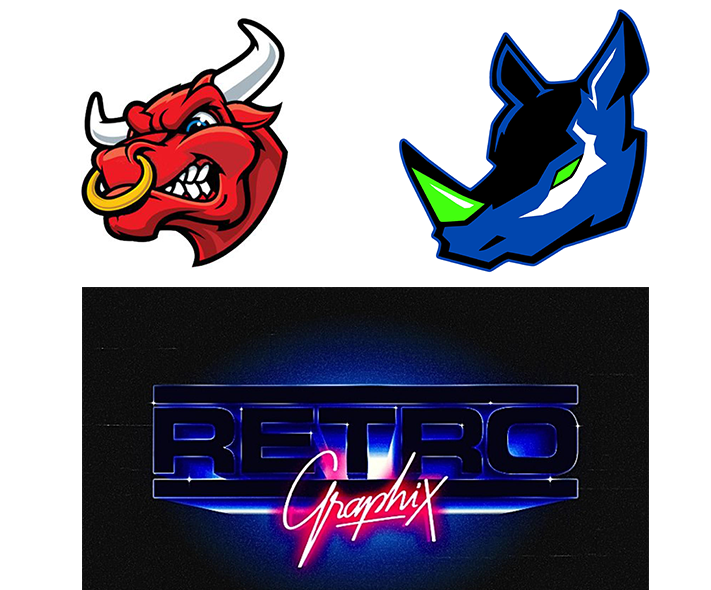
These images were provided by the client for inspiration. He knew he wanted bold lines for the character (similar to sports team mascots) and futuristic text with a retro feel. In most other cases, I will research and put together a mood board for the client based on how they answer the above questions in Step 1.
It’s also a good idea to research what types of logos already exist in the same industry or space as the business. This can prevent accidental similarities between logos as well as provide you with a general idea of how a specific concept is being interpreted in a variety of ways. After all, cursive, swirly letters would not be any more appropriate for a motorcycle repair company than gears and a futuristic, hard-edged font would be for a daycare center. That’s why it’s important to do your research to see examples of what others are doing within a chosen theme.
Step 3: Draw Out Logo Sketch Concepts
Once you have a direction to go in, you can begin sketching your logo. I prefer to sketch digitally on my iPad Pro in Procreate as it allows for more freedom to undo and paint over lines, but I know quite a number of designers who prefer using good old-fashioned pencil and paper. Do whatever feels most natural to you.
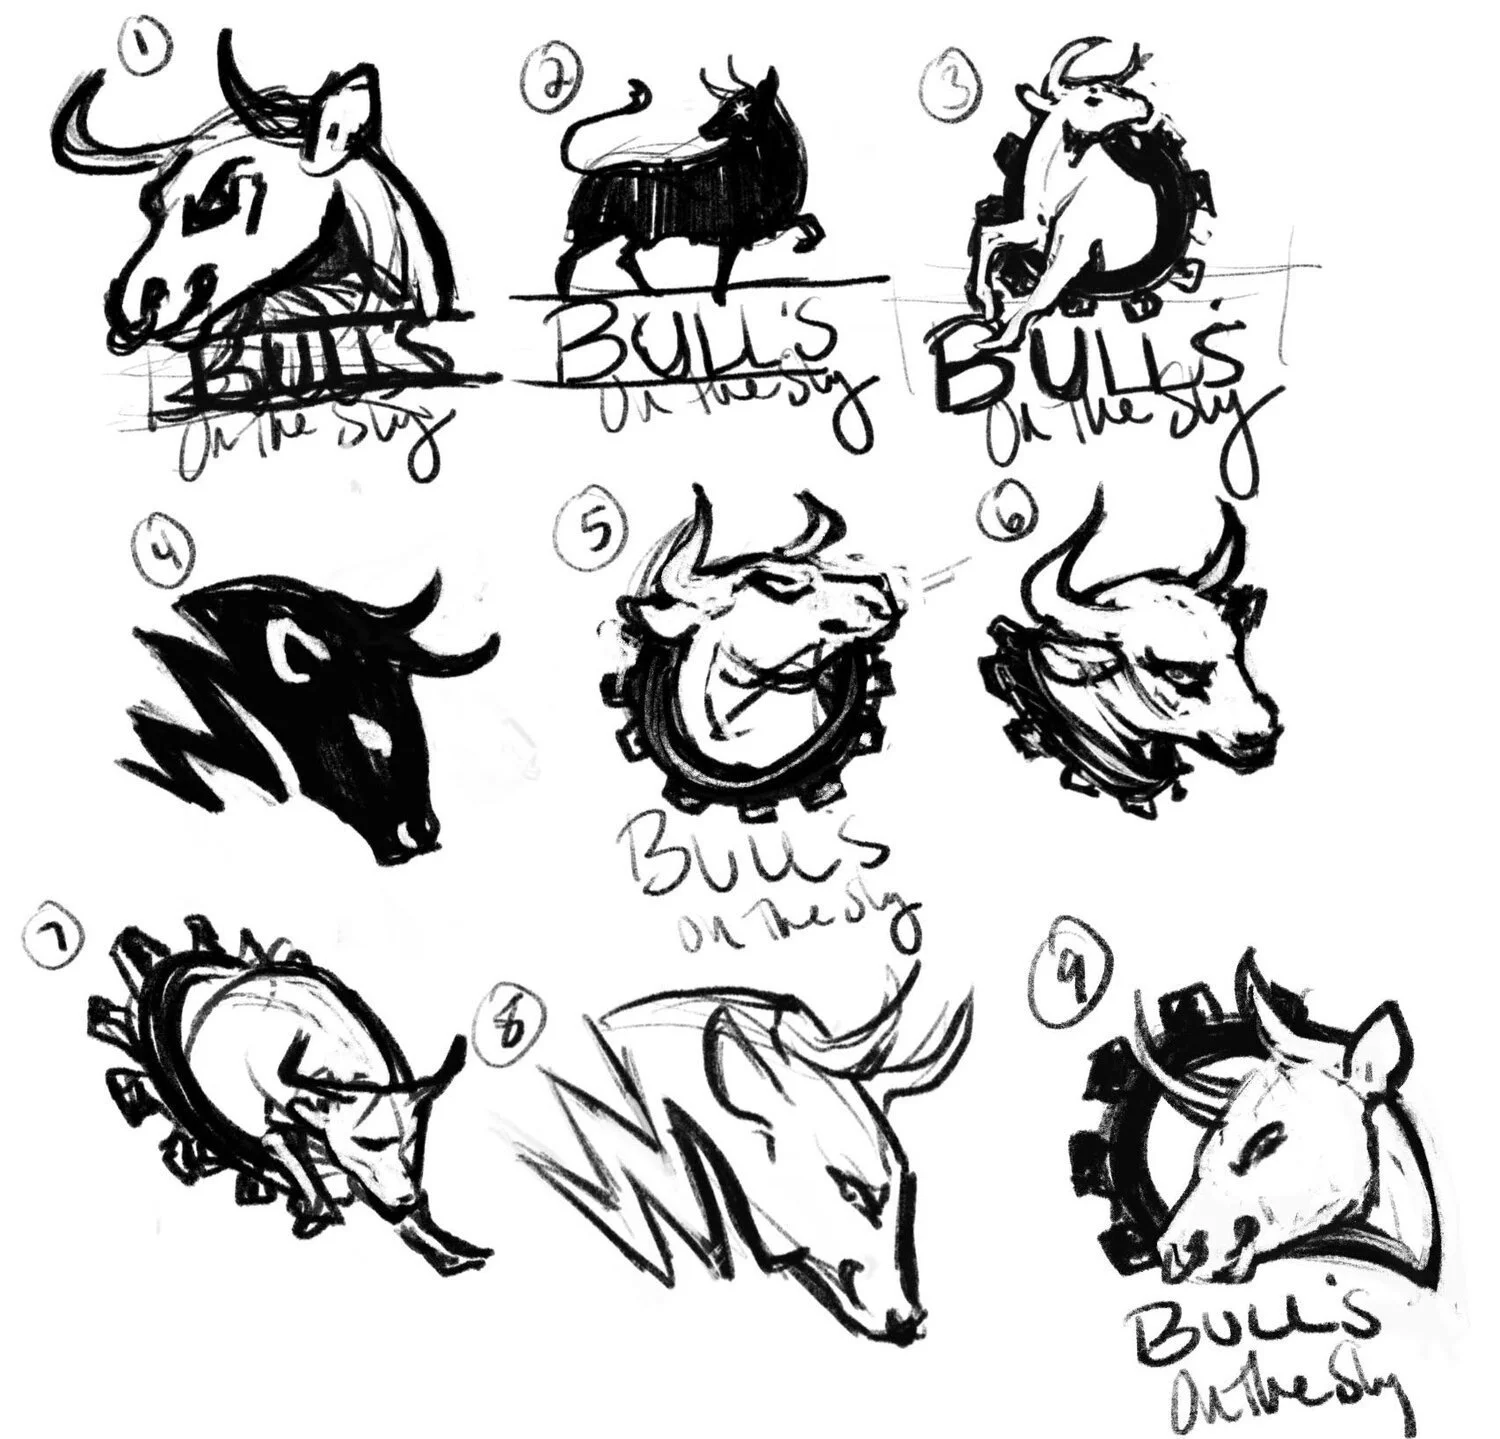
In this first round of concepts, I presented several options in various styles so the client could see my thought process and decide on a direction to head in.
Step 4: Refine Favorite Logo Ideas
Now that you have everything in front of you, you’ll find that some ideas worked better in your head than in reality. That is fine! That’s what this process is all about. At this stage, you can choose your favorites, and if inspiration strikes, you can add on to them.
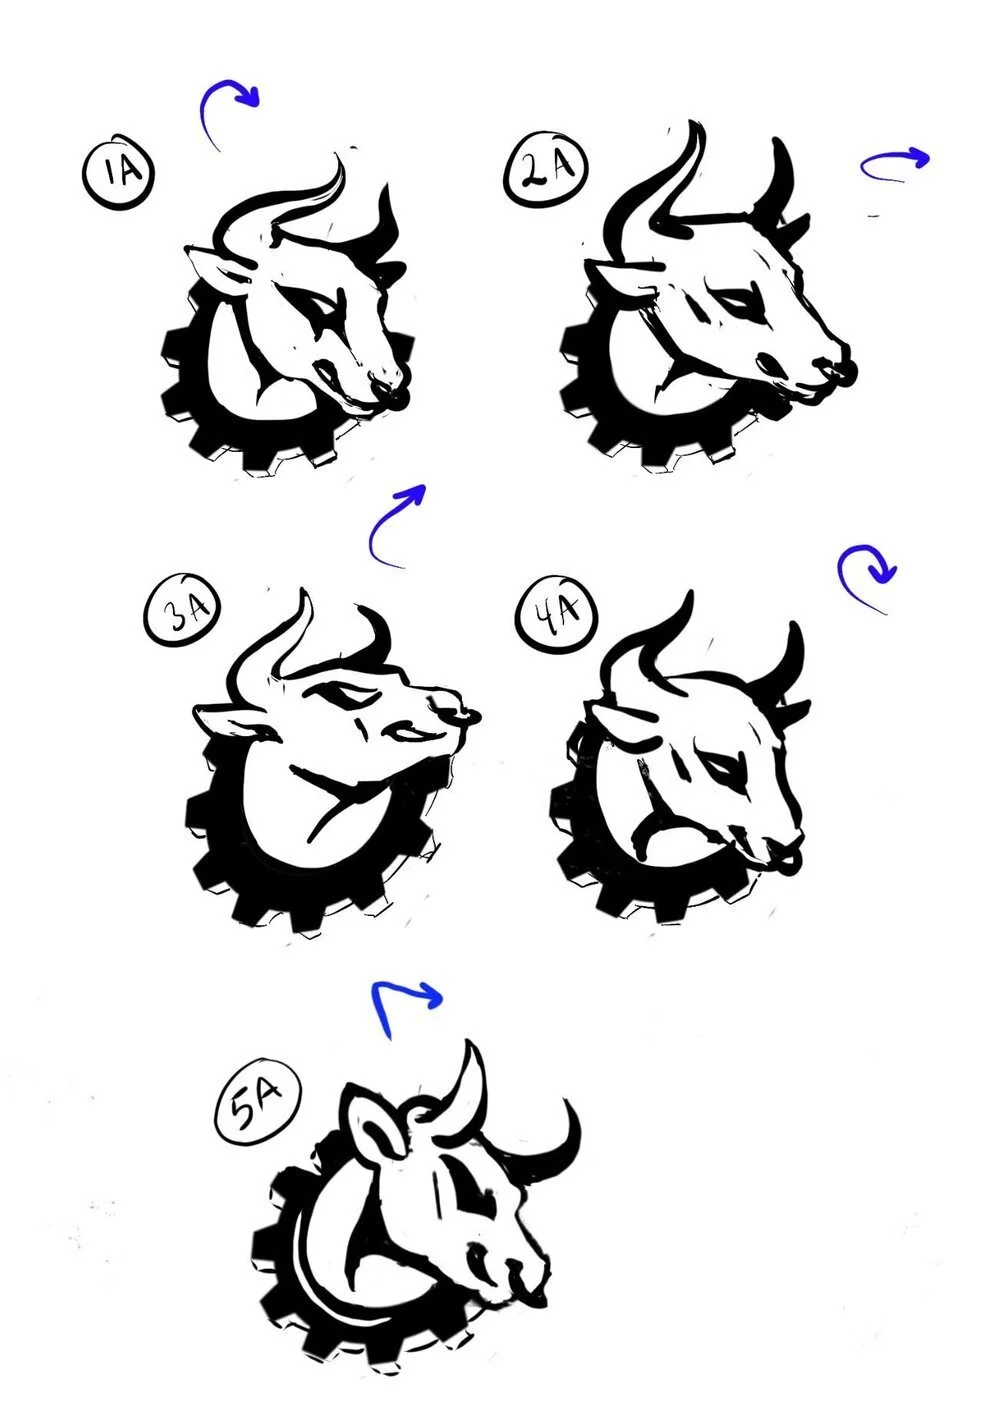
In this second round of concepts, the client chose #5 from the previous round and wanted me to expand on it with different poses for the bull face poking through a gear shape. The blue arrows indicate the line of action of the head and neck.
Step 5: Choose Your Typeface and Font
One mistake I see time and again in logo design is people thinking that a logo must require hand-drawn typefaces, commonly referred to as fonts. This is not the case! There are plenty of free or inexpensive fonts you can use. I get mine from dafont.com, paying special attention to usage rights. While most are free to use and modify, some creators request a small licensing fee in exchange for using their hand-made typeface, which can vary depending on your intended use (personal or commercial).
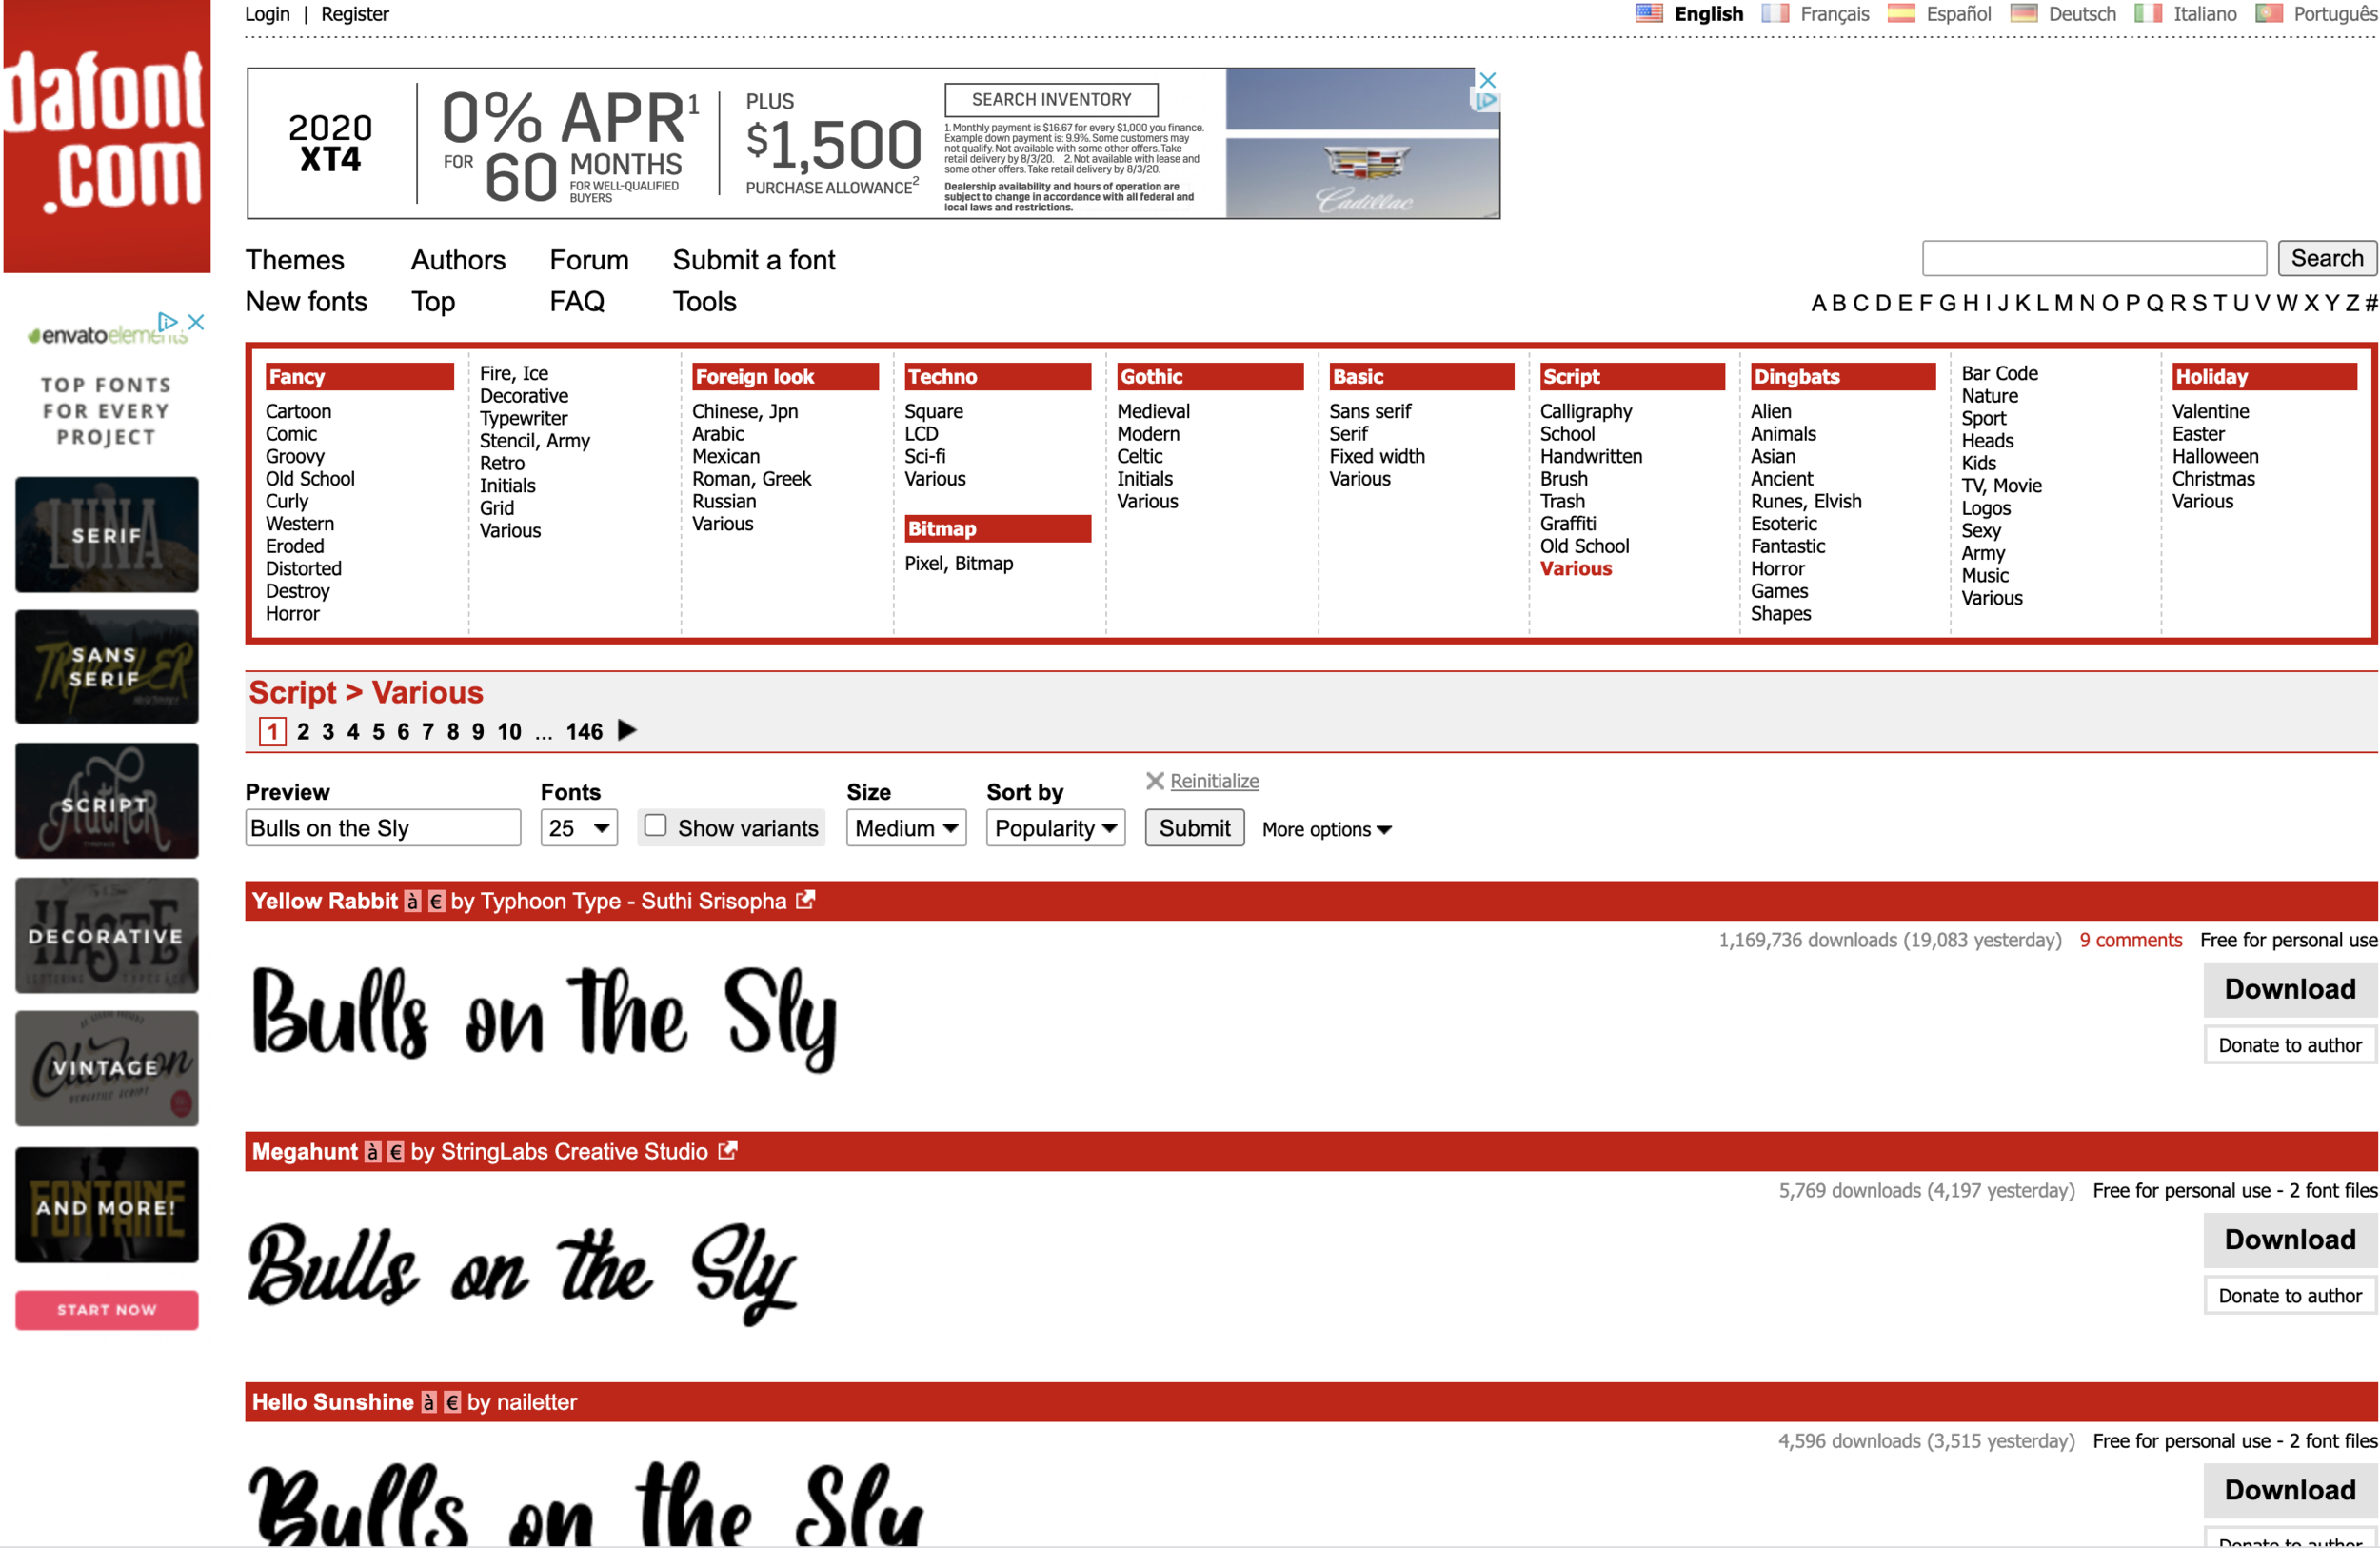
Make sure to click into the details of each font to make sure you adhere to the individual usage rules, such as purchasing licenses before use or if the font is not available for commercial use. Be warned, you can easily spend a lot of time browsing through different fonts. There’s a lot to look at!
Place your text on your logo, and you can even make some adjustments and customization to the letters if you like. But beware, make sure that you’re not using too many typeface families within one logo, as that will make it look busy and unprofessional. I recommend no more than 2, mixing serif (typefaces with little “feet” on the end of their lines, such as Times New Roman) and sans-serif (those without, such as Arial), but 3 is also acceptable depending on the circumstance.
Step 6: Clean Up the Logo Sketch
Your base design has been settled, your typeface has been chosen, now it’s time to put everything together and clean it up. Some designers are naturally very clean from the start, but others (like myself!) tend to be a bit messier, creating the need for this step.
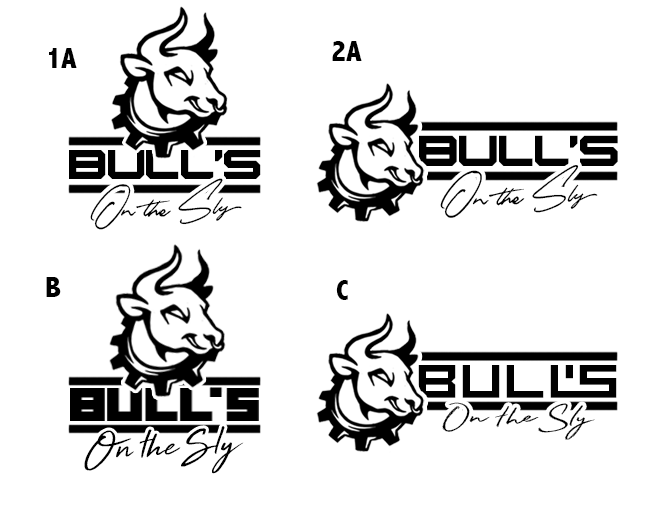
The bull face has been refined, but the client was still undecided on which font combination he wanted. In this round, the client can see several compositions and text styles in context.
Step 7: Turn Your Logo Design Into Vectors
Vectors are lines and images created via a vector program, such as Adobe Illustrator, to create clean, crisp edges that can be scaled up or down at any size without any distortion or loss of quality. Certain applications, such as embroidery, laser engraving, and pin making require vector art so that their machinery can correctly reproduce the image, so if you know that you’ll want to apply this logo to merchandise, vectors are an absolute must.
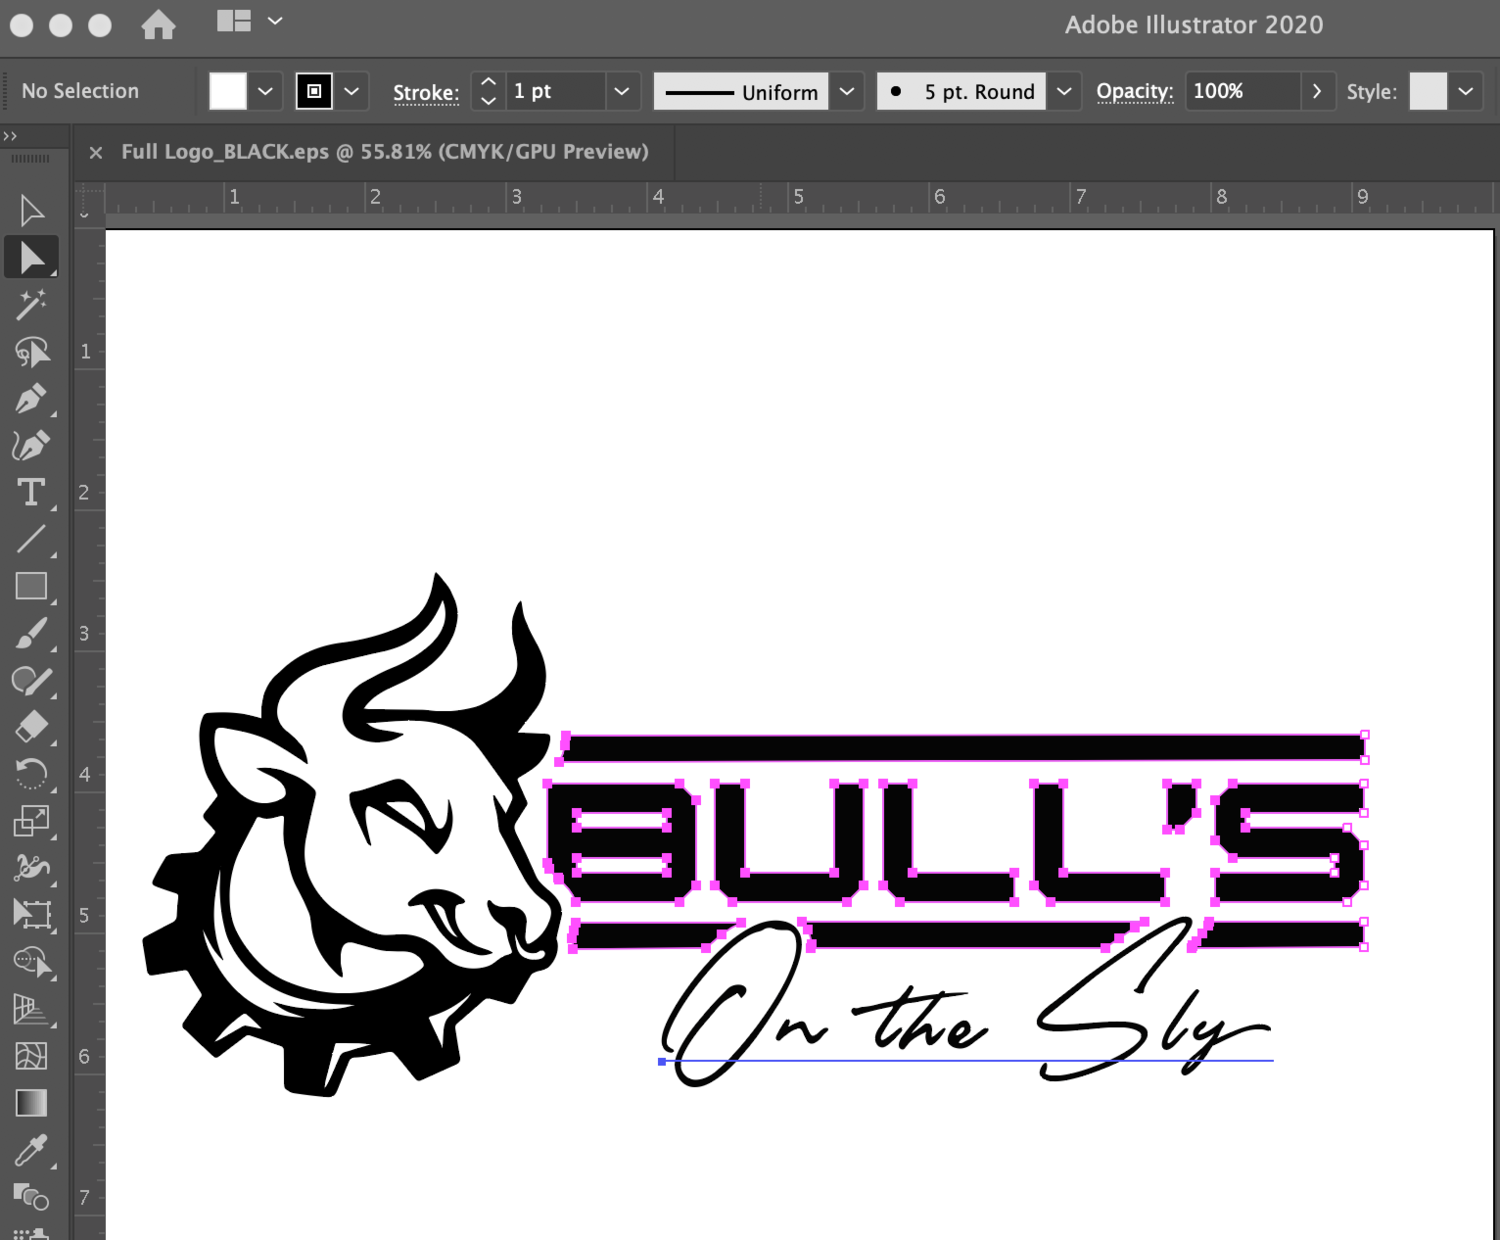
I work in Adobe Illustrator because it’s what I’m most familiar with when it comes to “vectorizing” logos, but there have been many other programs that have recently become available at accessible prices, so shop around!
When providing my clients with their final logo files, I send it to them in the following formats:
AI (.ai) - This is the raw Adobe Illustrator file
EPS (.eps) - Short for Encapsulated PostScript, an EPS file is a vector format that doesn’t require your client to have Adobe Illustrator or your vector program of choice installed on their computer in order to use vector art. This is the file type that is most frequently sent to and used by printers and other vendors.
PNG (.png) - Short for Portable Network Graphics, a PNG is a file format that also produces a clean, crisp image that does not lose quality due to compression, such as what you would see with a JPEG. This file format also supports transparent backgrounds, which is perfect for applying the new logo to a website.
Want Help Designing Your Logo?
If this sounds like more than you want to handle yourself, I offer logo design services at competitive rates. As an experienced logo designer and illustrator based in San Diego, CA, I have designed logos for local organizations including California Wolf Center and Ramona Shootists’ Emporium, as well global clients in a variety of industries.
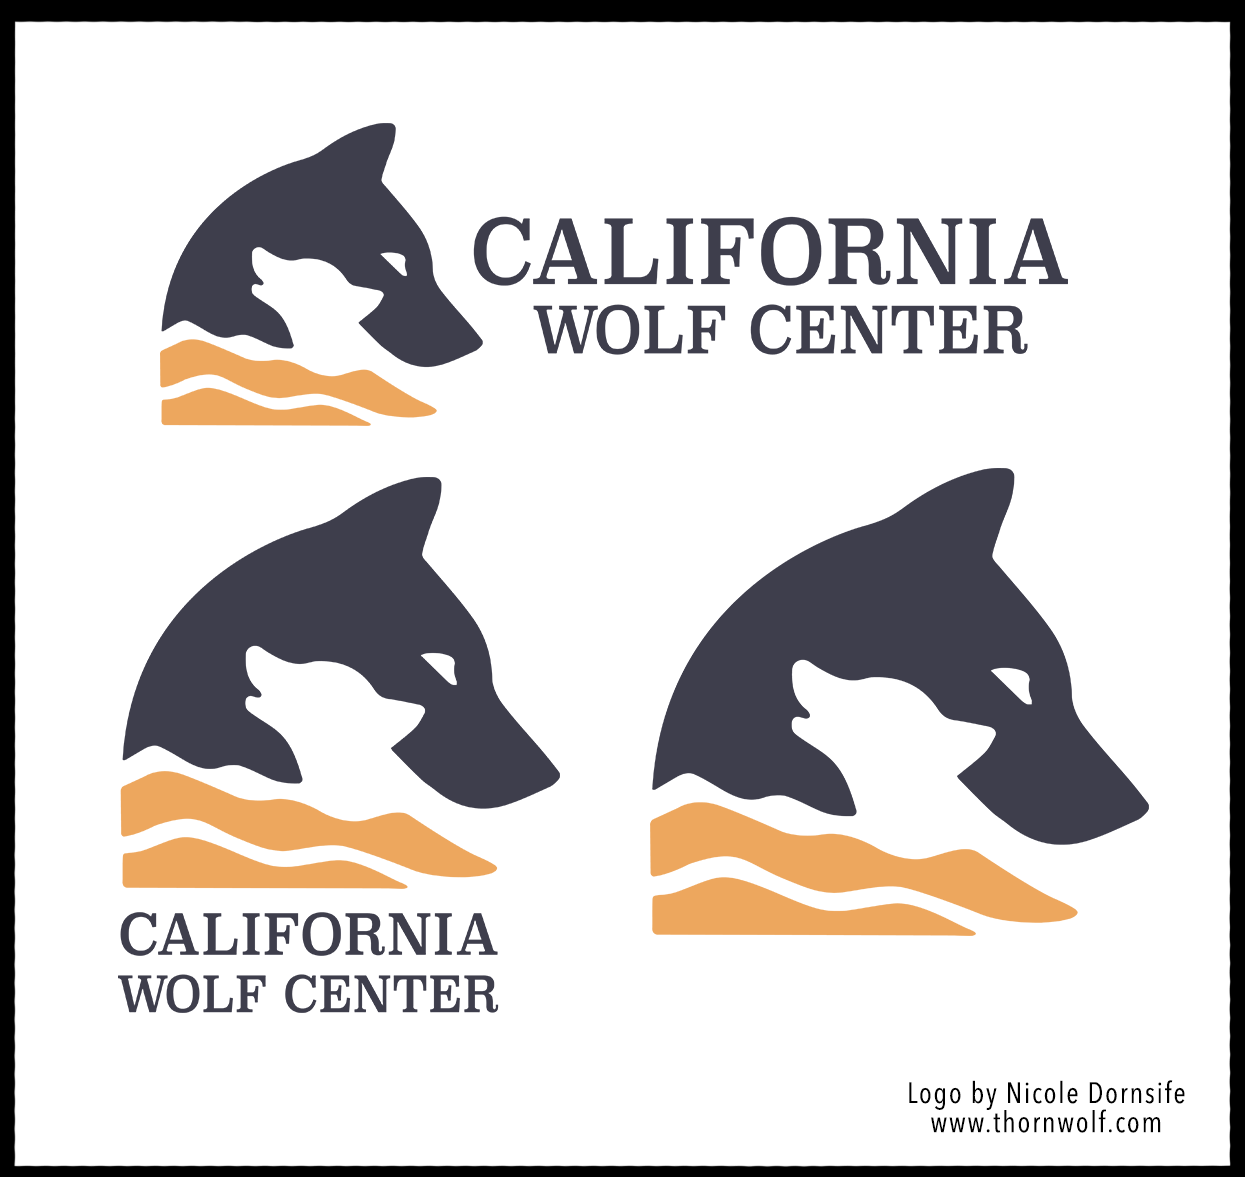
I specialize in logo design for small businesses, nonprofits, and sole proprietors, and offer an affordable logo design package that includes:
Full reproduction and usage rights
Mood board and/or inspiration consultation
Concept sketches with free refinement and exploration
Text choice and placement
Color combo choice
Vector files in EPS and PNG format of white, black, and color versions of your final logo
“We are pleased to present our redesigned logo, courtesy of Nicole Dornsife. It is emblematic of both the strong foundation of support that our organization is built upon, and our vision for the future. Nicole designed a logo that captures our unique work in the space of wolves, livestock and people, painting a picture of a healthy shared landscape.”
Click the button below to send me an email about your logo design needs and I’ll be in touch with you shortly!
Did you enjoy this article? You can leave the author a tip here on their Ko-Fi!
